How to publish your site
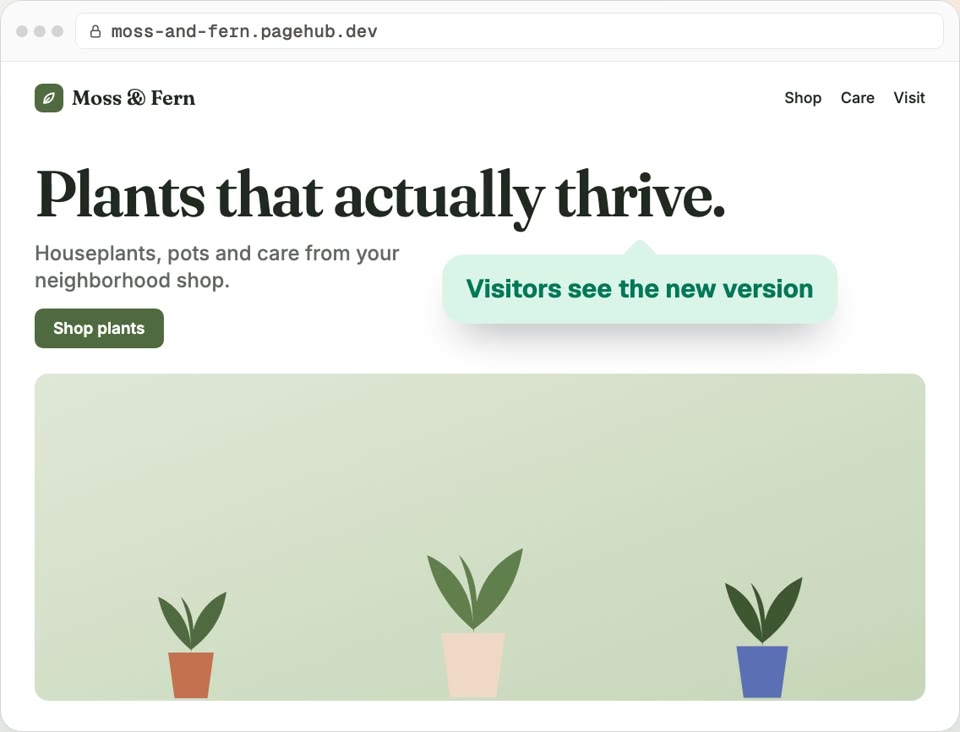
In your dashboard, open Settings, then Domains. Type a name for your free pagehub.dev address and click Publish. The top bar switches from Not live to Live. Later edits save to your draft, so visitors keep seeing the live version until you click Update & publish.
Step by step
- Step 1
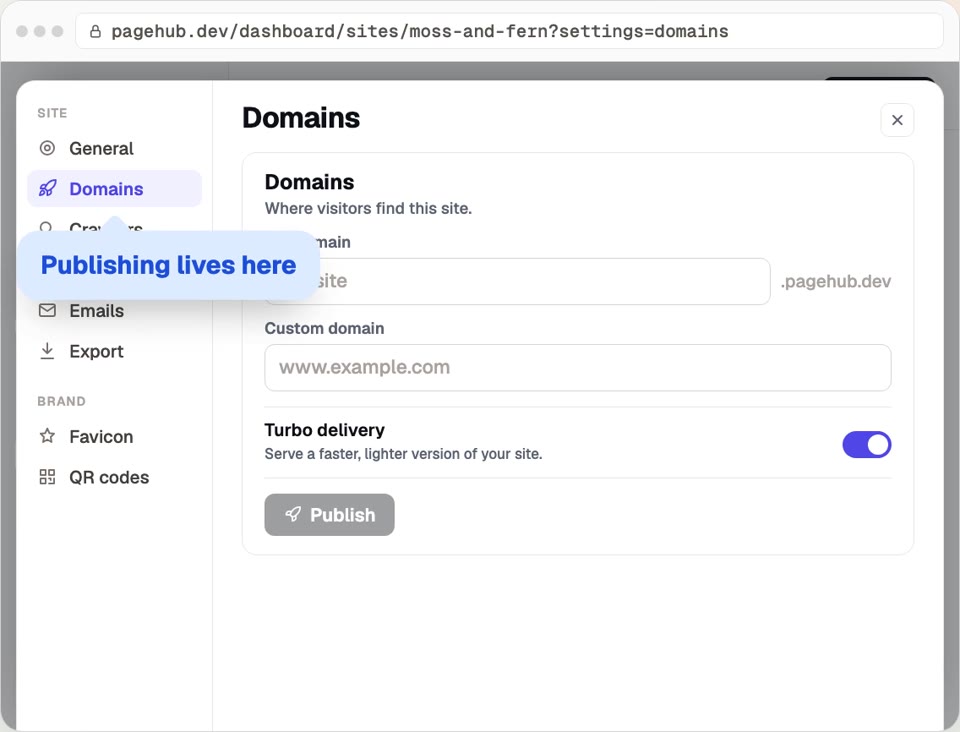
Open Domains
Click Settings at the bottom of your site menu, then Domains.
- Step 2
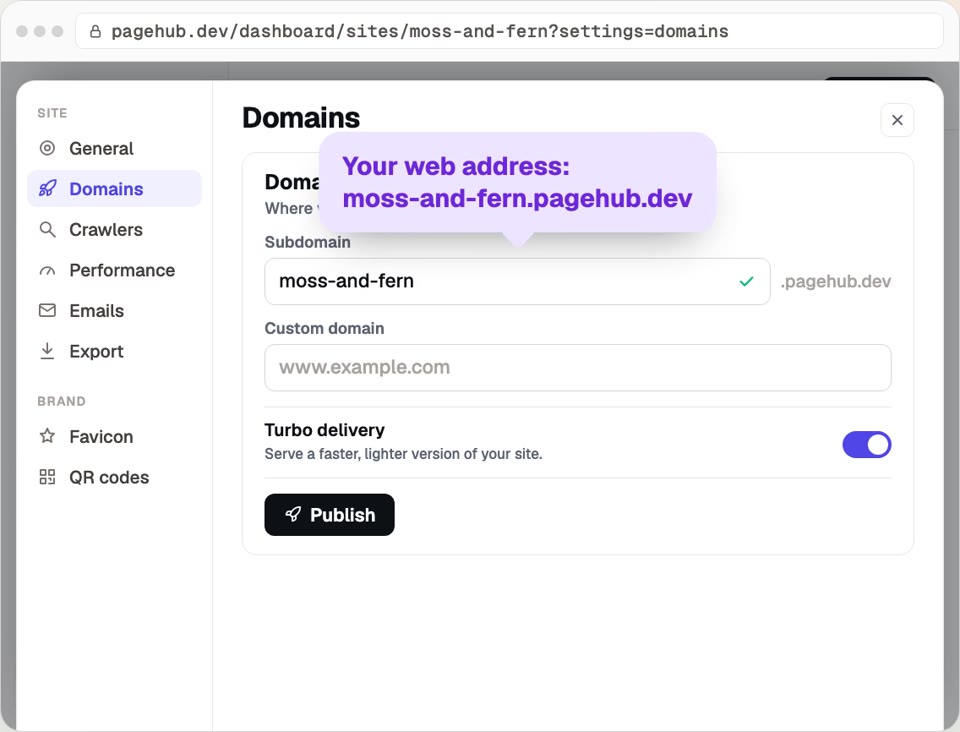
Pick your address
Type a name under Subdomain. A green check means it's free.
- Step 3
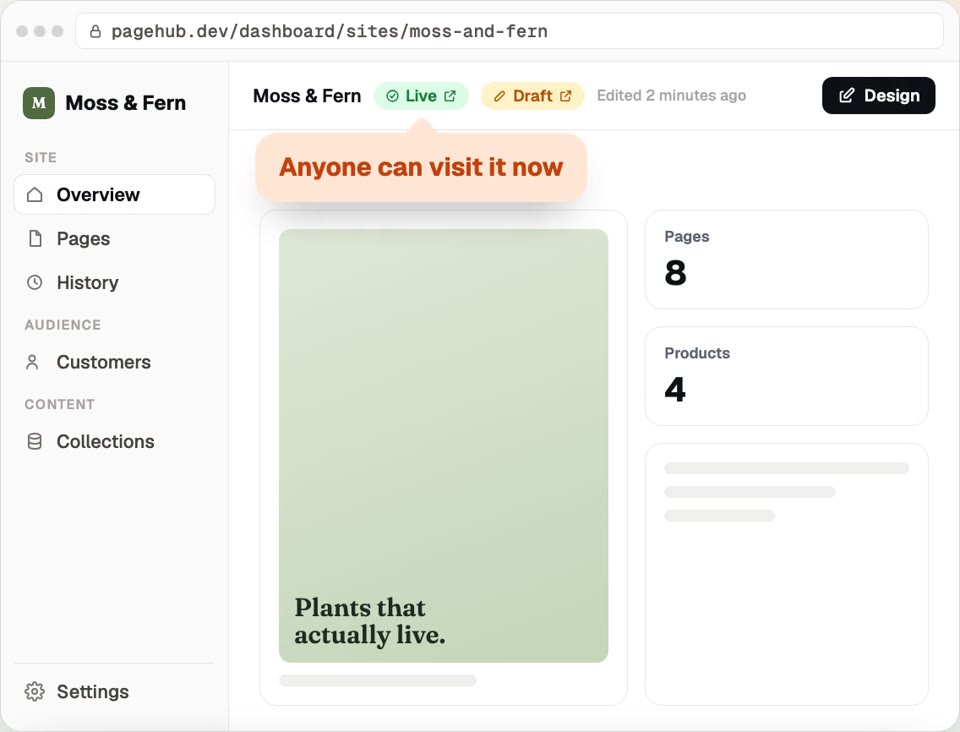
Go live
Click Publish. The top bar changes from Not live to Live.
- Step 4
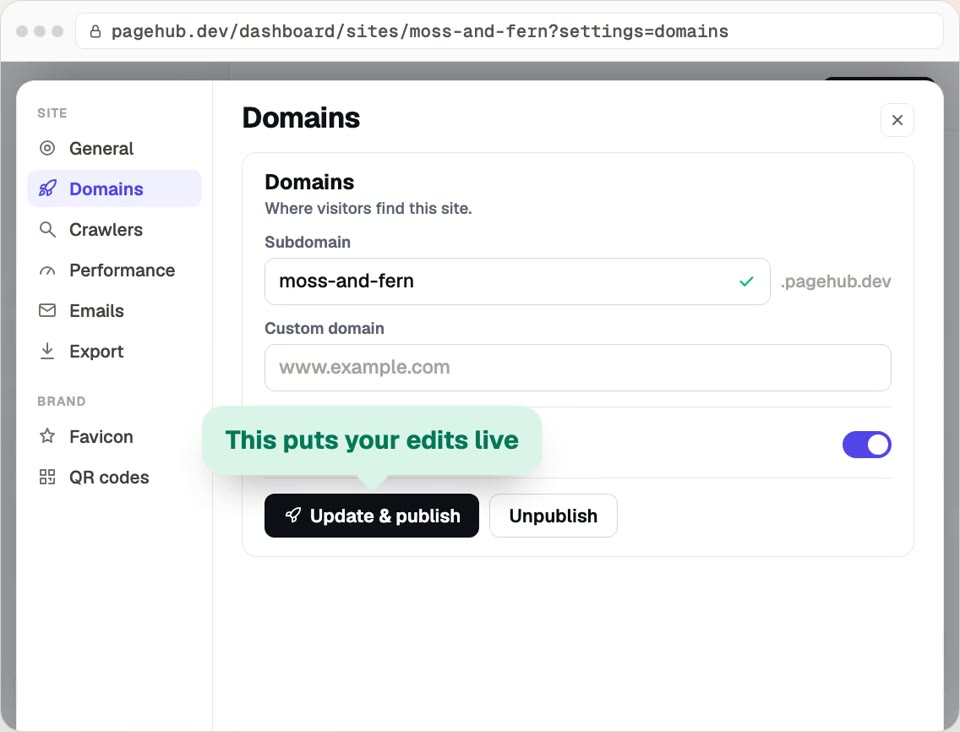
Publish your edits
Edits save to your Draft first. When they're ready, click Update & publish.
You're live
Anyone who opens your link sees the latest version.
Questions
How do I publish my PageHub site?
More how-to guides
How to make a collection
Make a collection for your team, services or listings, add one row per item, and show it on any page. Edit a row once and every page updates.
Updated
How to set up your shop
Connect Stripe, sync your products, add a shipping rate and drop a live product grid on your site. Payments go straight to your Stripe account.
Updated
How to add chat to your site
Turn on chat for your site, name the assistant, choose what it asks visitors and add the chat bubble. It answers from your own pages.
Updated
How to connect your domain
Put your site on a domain you own: type it in, copy the two DNS records, add them where you bought the domain, and PageHub confirms it's live.
Updated
How to get form submissions
Add a contact form to your site, give it a name and publish. Read every message in Form submissions and get each one emailed to you.
Updated
How to connect your AI
Add PageHub to Claude as a custom connector, approve it and paste the starter prompt. Claude builds your site in a draft you publish when ready.
Updated
Try PageHub on your own domain
The free plan includes 1 published site on your own domain. No credit card.